When you want to change the look of old furniture, painting is often the most affordable and satisfying solution. Whether it’s breathing new life into a dull vanity or giving an old sofa a makeover, DIY furniture painting is an exciting way to personalize your home decor. In this article, we’ll explore different painting techniques that can help you achieve stunning results. Ready to dive into the world of DIY furniture painting? Let’s get started!
Introduction: Why Paint Your Furniture?
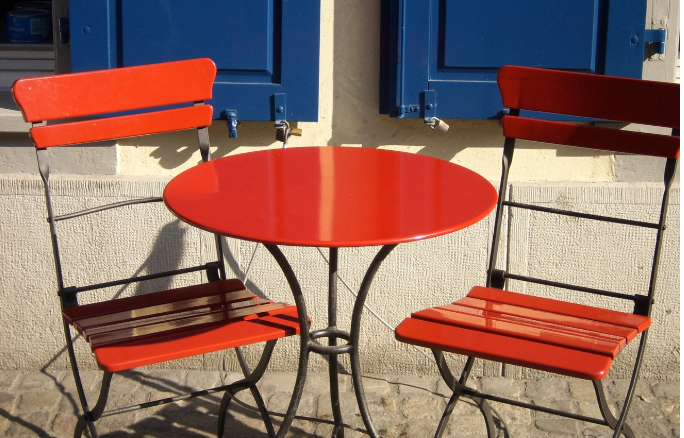
We’ve all stood in front of an old piece of furniture, wondering if it’s time to throw it out. But what if we told you that with just a layer of paint, you could completely transform its look and feel? Painting furniture allows you to inject new life into old pieces, making them appear fresh, modern, or even vintage. Best of all, you can achieve this with minimal investment and maximum satisfaction.
Choosing the Right Paint for Your Furniture
Not all paints are created equal, and choosing the right one is crucial for achieving the desired result. Here are some suggestions to help you decide:
Types of Paints
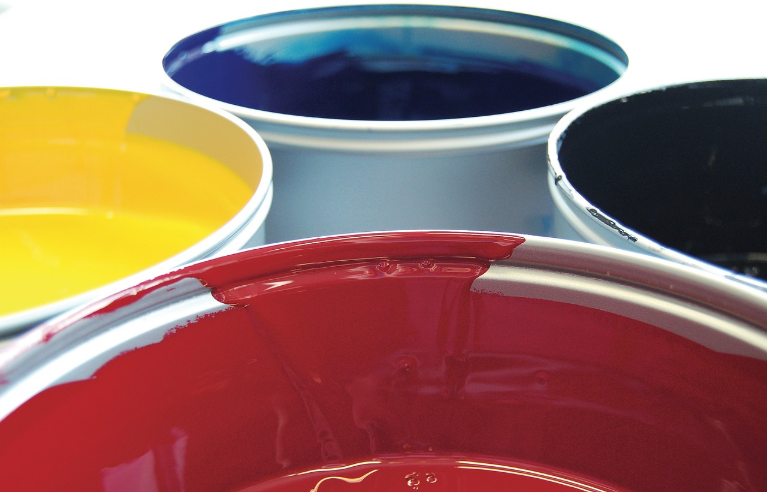
- Latex Paint: A water-based paint that is easy to apply, dries quickly, and offers a variety of finishes, from matte to high gloss.
- Chalk Paint: Ideal for achieving a vintage or shabby-chic look, chalk paint has a thick texture, is easy to distress, and gives furniture an aged appearance.
- Milk Paint: Perfect for a natural, matte finish, milk paint gives off a soft, earthy look and is great for creating a distressed effect.
- Oil-Based Paint: Though it dries slower, oil-based paint is highly durable and suitable for surfaces that need extra protection.
Factors to Consider When Choosing Paint
- Durability: If the furniture will be heavily used, consider opting for a more durable latex or oil-based paint.
- Finish: The level of gloss (matte, satin, semi-gloss, or high gloss) you choose will affect the overall appearance.
- Ease of Use: Chalk paint is a great choice for beginners, while oil-based paints require more preparation but provide a smoother, more durable finish.
Essential Tools for DIY Furniture Painting
Before you begin, make sure you have the right tools. These tools will ensure you achieve the best results.
Brushes and Rollers
A high-quality brush is essential for detailed work. Synthetic brushes work best for latex paint, while natural bristle brushes are better for oil-based paints. Smaller brushes are ideal for painting edges and intricate designs, while larger rollers are perfect for covering flat surfaces quickly.
Spray Paints and Equipment
If you want to cover large areas quickly or achieve a smoother finish, spray painting is a good option. Just make sure to work in a well-ventilated area and consider using a spray gun for more precision.
Surface Prep Tools
Surface preparation is key to successful painting. Sandpaper, scrapers, and cleaning cloths will help you prep the surface, ensuring the paint adheres well and lasts longer.
Step-by-Step Guide to Painting Furniture
Once you’ve chosen your paint and gathered your tools, it’s time to get painting! Follow these steps for a flawless finish.
Step 1: Cleaning and Sanding the Surface
Start by thoroughly cleaning the furniture to remove dirt, grease, and debris. Use a mild cleaner and allow the surface to dry completely. After cleaning, lightly sand the surface to remove any old paint or gloss and create a smooth base for the new paint.
Step 2: Priming the Surface
Priming is crucial for achieving a smooth and durable finish. Apply a coat of primer suited to your chosen paint type and let it dry completely before moving on to the next step.
Step 3: Applying the Paint
Using a long, even stroke with your brush, start painting from the edges and work your way inward. Depending on the type and color of the paint, you may need to apply multiple layers. Allow each coat to dry fully before applying the next.
Step 4: Adding Finishes for Protection
Once the paint has dried, you can apply a protective finish such as polyurethane or wax to seal the paint and ensure its durability. This will help your furniture resist wear and tear and maintain its fresh appearance for longer.
Creative Techniques for Unique Effects

If you want to take your project up a notch, try incorporating some creative techniques.
Distressing for Vintage Appeal
If you’re aiming for a vintage look, distressing is a great technique. After painting, lightly sand the edges and corners of the furniture to reveal the wood underneath, creating a naturally worn, aged effect.
Ombre and Gradient Techniques
For a modern touch, try ombre or gradient painting. This technique works particularly well on larger pieces of furniture like vanities or bookshelves, creating a flowing, gradient color effect.
Stencil Designs
Using stencils can add intricate designs to your furniture. Whether it’s floral patterns or geometric shapes, stencils allow you to personalize your furniture and make it stand out.
Tips for Long-Lasting Results
After all your hard work, you’ll want your painted furniture to last. Here are some tips to help you maintain its fresh look.
Caring for Painted Furniture
Avoid placing heavy objects on freshly painted surfaces, as this can cause dents or scratches. Regularly wipe down the furniture with a soft cloth to keep it in top shape.
Touch-Up and Maintenance
If your furniture starts showing signs of wear, don’t worry. Simply use a small brush and touch-up paint to keep it looking its best. Regularly clean and maintain the protective finish to extend the life of your furniture.
Conclusion: Bringing New Life to Old Furniture
Painting furniture is more than just changing its color – it’s about giving old pieces a new life. With the right tools, techniques, and a little creativity, you can transform any piece of furniture into a stylish, unique work of art. Whether you’re going for vintage, modern, or something entirely unique, DIY painting is a meaningful and cost-effective way to breathe new life into your home.
FAQs
- What type of paint is best for wooden furniture?
For wooden furniture, both latex and oil-based paints are excellent options, depending on the finish and durability you need. - Can I paint over varnished furniture?
Yes! Just be sure to properly sand and prime the surface to ensure the paint adheres well. - How do I prevent streaks when painting furniture?
Apply the paint in thin, even layers and allow each coat to dry before applying the next one. - What is the best way to create a distressed look?
Lightly sand the edges and corners of the furniture after painting to expose the underlying wood and create a naturally worn effect. - How long does painted furniture take to dry?
Drying times vary by paint type, but generally, each layer needs 2-4 hours to dry. After the final coat, allow the furniture to cure for 24-48 hours before use.