Introduction
Thinking about adding a stylish and functional piece to your living room? An ottoman is a perfect blend of comfort and elegance. But why buy one when you can build your own? This guide will walk you through a fun and rewarding DIY process, ensuring you craft a high-quality, customized ottoman that suits your home decor.
Why Build Your Own Ottoman?
Making your own ottoman isn’t just about saving money—it’s about personalization. Store-bought options often lack character, while a DIY ottoman allows you to pick the exact materials, size, and design. Plus, it’s a fantastic way to develop your DIY skills!
Market Trends and Consumer Preferences
Ottomans have evolved beyond simple footrests. Recent market trends show increasing demand for multi-functional ottomans with storage, modular designs, and eco-friendly materials. Consumers favor neutral colors, textured fabrics, and sturdy wooden frames for durability and aesthetic appeal.
Essential Tools and Materials
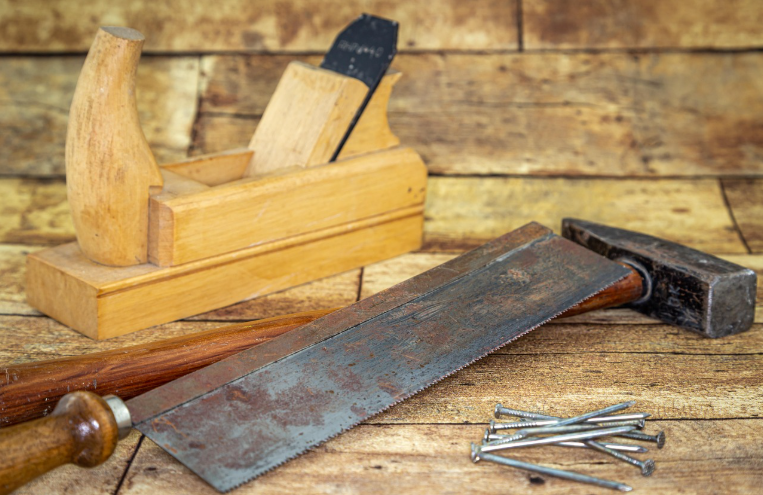
Before diving in, gather these essentials:
- Tools: Saw, drill, staple gun, measuring tape, screwdriver
- Materials: Wood (plywood or solid), foam padding, batting, upholstery fabric, legs (wooden or metal), screws, adhesive
Choosing the Right Fabric
Opt for durable, stain-resistant fabrics like microfiber, velvet, or linen. If you have pets or kids, performance fabrics can offer extra protection.
Selecting the Best Frame Material
Plywood is budget-friendly and easy to work with, while hardwood provides greater durability. Consider reclaimed wood for a rustic touch.
Step 1: Designing Your Ottoman
Decide on the shape, size, and functionality. Will it double as storage? Sketch your design and take accurate measurements.
Step 2: Building the Frame
- Cut your wood to size.
- Assemble the frame using screws and wood glue.
- Attach support beams for added stability.
Step 3: Adding Cushioning for Comfort
- Cut foam to fit the top.
- Add batting to soften edges.
- Secure everything with spray adhesive.
Step 4: Upholstering Like a Pro
- Lay the fabric flat and place your ottoman upside down on top.
- Pull fabric tightly and staple it securely underneath.
- Make neat corners by folding fabric carefully.
Step 5: Adding the Finishing Touches
- Attach legs to elevate your ottoman.
- Consider adding tufting or nailhead trim for a stylish look.
Common Mistakes and How to Avoid Them
- Skipping measurements – Always measure twice, cut once.
- Not stretching fabric enough – Prevent wrinkles by pulling the fabric taut.
- Choosing weak materials – Invest in quality wood and fabric for durability.
Styling Tips: Matching Your Ottoman to Your Space

- Use bold colors for a statement piece.
- Match neutral tones with existing furniture.
- Experiment with patterns to add personality.
Conclusion + Future Outlook
Building an ottoman isn’t just a DIY project—it’s an opportunity to create a custom, high-quality furniture piece tailored to your home. With furniture trends favoring personalization and sustainability, now is the perfect time to craft your own unique ottoman. Why stop here? Explore other DIY furniture projects and elevate your home decor!
FAQs
1. How long does it take to build an ottoman?
It depends on your skill level, but typically, it takes around 4-6 hours, spread over a weekend.
2. Can I make an ottoman without power tools?
Yes! While power tools make the job faster, you can use hand tools like a hammer, handsaw, and manual screwdriver.
3. What’s the best type of foam to use?
High-density foam is best for durability and comfort. Look for at least 2-inch thick foam for adequate support.
4. How do I prevent my ottoman from sliding on hardwood floors?
Attach rubber grips or felt pads to the legs to keep your ottoman in place and protect the floor.
5. Can I repurpose an old table into an ottoman?
Absolutely! A sturdy coffee table can serve as a perfect base—just add foam, fabric, and legs.
By following this guide, you’ll have a stylish, functional ottoman that fits perfectly into your home. Happy crafting!