
Introduction
Ever looked at a room and felt like something was missing? More often than not, the answer is curtains! The right set of curtains can transform a space, adding warmth, style, and personality. But why settle for mass-produced options when you can craft your own? In this guide, we’ll explore the ins and outs of making custom curtains, from choosing fabrics to styling your masterpiece.

Why Custom Curtains?
Personalization and Unique Style
One of the best reasons to make your own curtains is the ability to match your exact vision. Whether you love bold patterns, neutral tones, or intricate designs, DIY curtains allow complete creative control.
Cost-Effectiveness
Store-bought curtains can be pricey, especially high-quality ones. By making your own, you can save money while achieving a designer look.
Better Quality and Material Control
DIY curtains let you pick materials that suit your needs, whether you want blackout curtains for better sleep or sheer ones to let in natural light.
Understanding Market Trends in Custom Curtains
Popular Fabric Choices
Linen, cotton, and velvet remain popular, with eco-friendly bamboo fabrics gaining traction.
Trending Colors and Patterns
Earthy tones, botanical prints, and geometric designs dominate modern homes.
Smart and Eco-Friendly Curtain Options
Motorized curtains with smart home integration and sustainable materials are rising in demand.
Essential Tools and Materials for DIY Curtains
Fabric Selection Guide
Choose durable yet stylish fabric that complements your space.
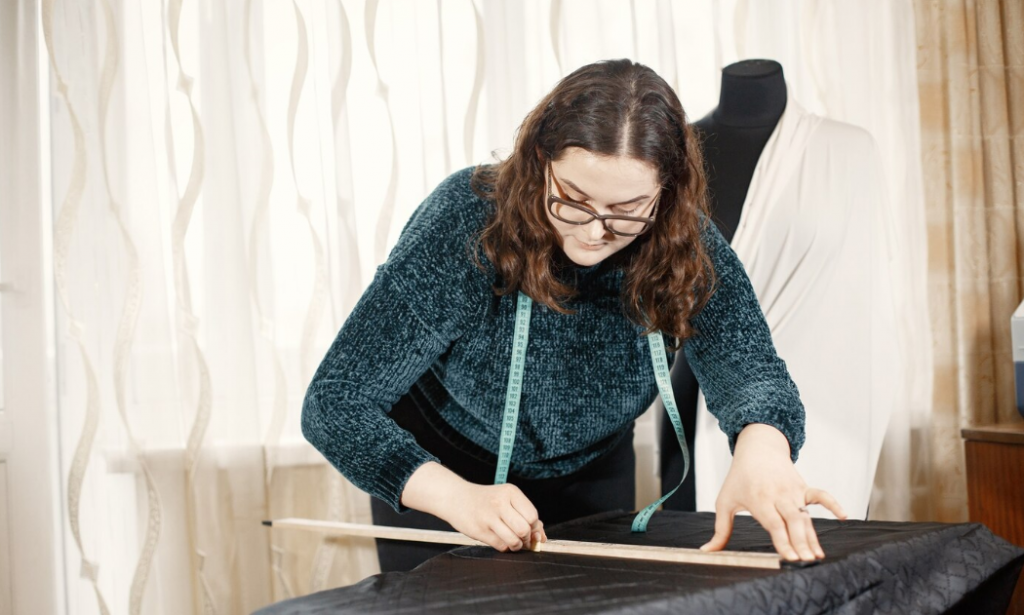
Measuring and Cutting Essentials
Invest in a measuring tape, fabric scissors, and a cutting mat.
Sewing Machines and Alternative Methods
A sewing machine speeds up the process, but iron-on hemming tape offers a no-sew alternative.
Step-by-Step Guide to Making Custom Curtains
Step 1: Measuring Your Windows Correctly
Measure the height and width, adding extra inches for a luxurious drape effect.
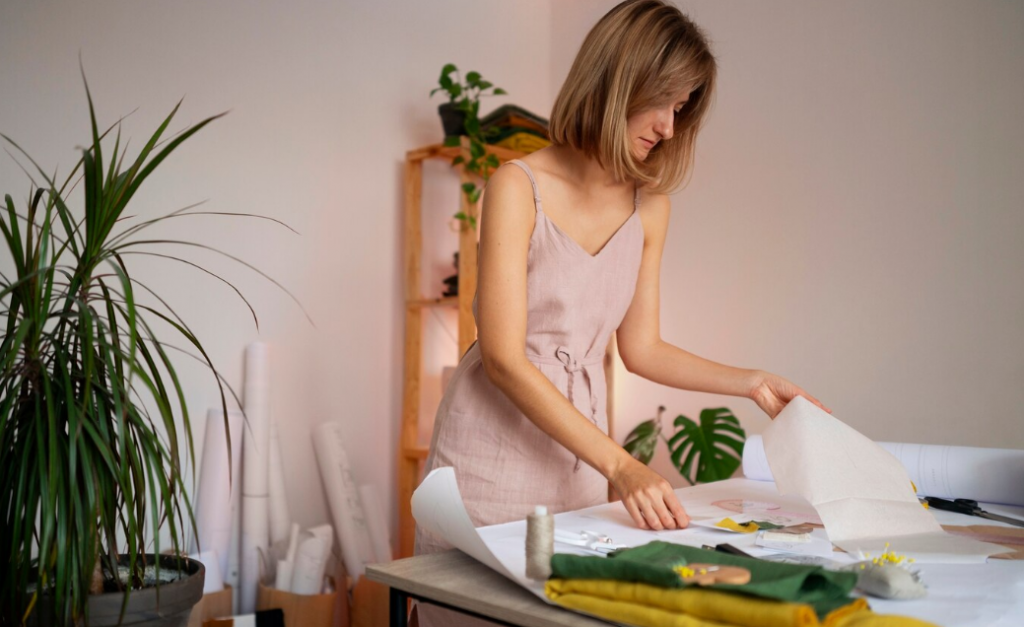
Step 2: Choosing the Right Fabric and Design
Pick a fabric that aligns with both functionality and aesthetics.
Step 3: Cutting and Preparing the Fabric
Ensure straight cuts by using a fabric marker and cutting mat.
Step 4: Sewing or No-Sew Assembly Techniques
Sew the hems neatly or use fabric glue or hemming tape.
Step 5: Adding Finishing Touches
Consider embellishments like tassels or trim for a designer look.
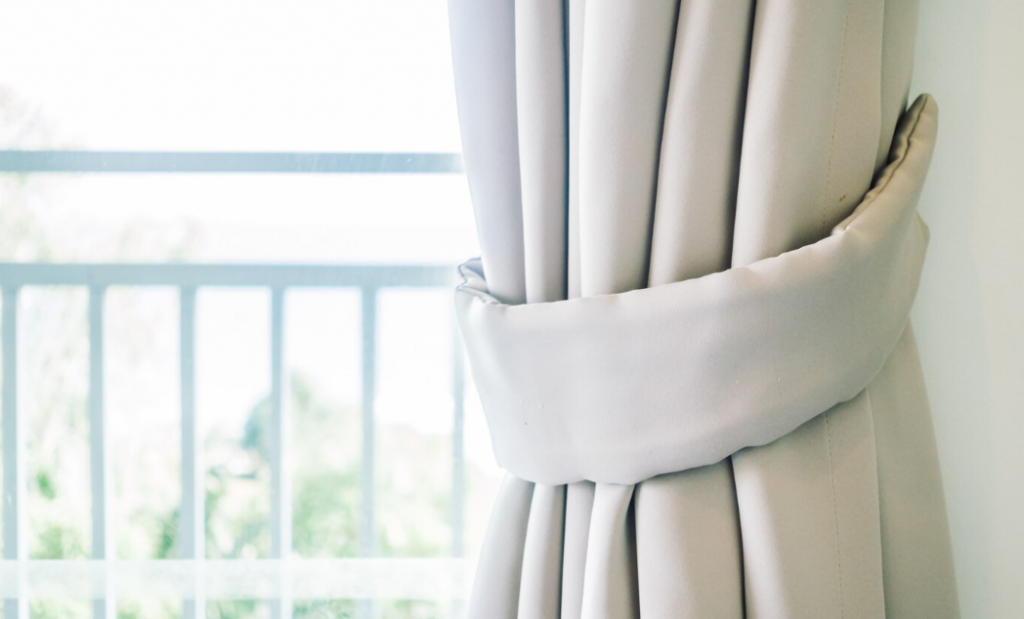
Step 6: Hanging Your Curtains
Choose between rods, tracks, or clips for mounting your masterpiece.
Styling and Matching Your Custom Curtains
Matching with Wall Colors and Furniture
Harmonize your curtains with room decor for a cohesive look.
Layering with Sheers and Blackouts
Combine light-filtering sheers with blackout curtains for versatility.
Maintaining and Cleaning Your Custom Curtains
Regular washing or dry cleaning extends their lifespan while keeping them fresh and dust-free.
Common Mistakes to Avoid in DIY Curtain Making
- Skipping proper measurements
- Choosing the wrong fabric for your needs
- Ignoring curtain hardware compatibility
Conclusion
Creating your own custom curtains is a rewarding experience that combines creativity and practicality. By following these steps, you can achieve a professional-looking result that enhances your home’s decor. As trends in smart and sustainable curtains evolve, DIY enthusiasts have even more exciting options to explore.
FAQs
1. Do I need a sewing machine to make DIY curtains? No! While a sewing machine helps, you can use fabric glue or iron-on hemming tape for a no-sew option.
2. What fabric works best for DIY curtains? Cotton, linen, and polyester blends are great for beginners due to their easy handling.
3. How do I ensure my curtains are the right length? Measure from the rod to your desired length, adding extra inches for hemming.
4. Can I make blackout curtains at home? Yes! Use blackout fabric or add a blackout liner to your curtain panels.
5. How often should I wash my DIY curtains? Depending on exposure to dust and dirt, washing every 3-6 months is recommended.